Hello Everybody!
It's Friday which means it is time for a project! This project has a little back story to it so please enjoy!
The papers pictured below are from the DCWV All About Boys Stack. My mom-in-law gave me a challenge with these and other papers. The challenge was to use these papers in layouts and to use a Cricut die cut on them. She has the other half of the papers so she is doing the challenge too.
I have had these papers for almost a year. Within the last week I have the first layout done. I like to have pictures before I do the layout, but this time my creativity was pushed. I did the layouts without any pictures.

They are busy patterns so I decided to cut the Robots paper on the left into 2 pieces (with a 3rd pc left over.)

I have a sheet of yellow Bazzill cardstock and the bottom of the Robot paper is being adhered to the bottom of the yellow paper.

On my red Bazzill cardstock the top of the Robot paper is adhered.

For my Cricut embellishment I use the Opposites cartridge and spell out "All Boy."

To add some pizzazz I outlined the letters with red Stickles. It takes a good day for these to dry.

This paper is from Michael's Recollection papers. This is from their Rockets n Sprockets line. I cut a Robot head from the top row and but it between All and Boy.

This is my placement so far. I haven't glued it down yet. I cut orange cardstock to be 4.25 X 6.25 to mat a 4 X 6 picture.
The blue square was a possibility. But as the pages progressed, it didn't fit anymore.

I put dimensional squares on the back of the Robot head.

I used Glossy Accents to glue my Cricut letters down.

So I cut words and a robot out of one of the other corresponding papers. I also cut out a larger light bulb. I put a 3 x 3 journaling square to the right of the picture square. I inked the edges of the orange squares with Dew Drop pigment ink (rocket red).

Here are the pieces glued down.

Here are orange mats are adhered, and the light bulb is added. This page is done!

The second page of the layout had the robots on top. I added the squiggle like to break up some of the red. (You'll see the real reason as you scroll down.) That piece came from the same Recollections paper as the robot head on the first page.
Also, I added the 4.25 X 6.25 photo mat, inked red. (I tried blue but it looked more like a dark green or black color so I stayed with red.)

I measured the space. Another 4.25 X 6.25 mat will go here too!

This is an example of what inking looks like.

Here is the real reason I need the strip of paper. As I was working along I noticed that there was a tear in my paper here on the right hand edge. A photo mat would hide it. So the strip was perfect. Some of the coolest creative things comes from hiding mistakes!

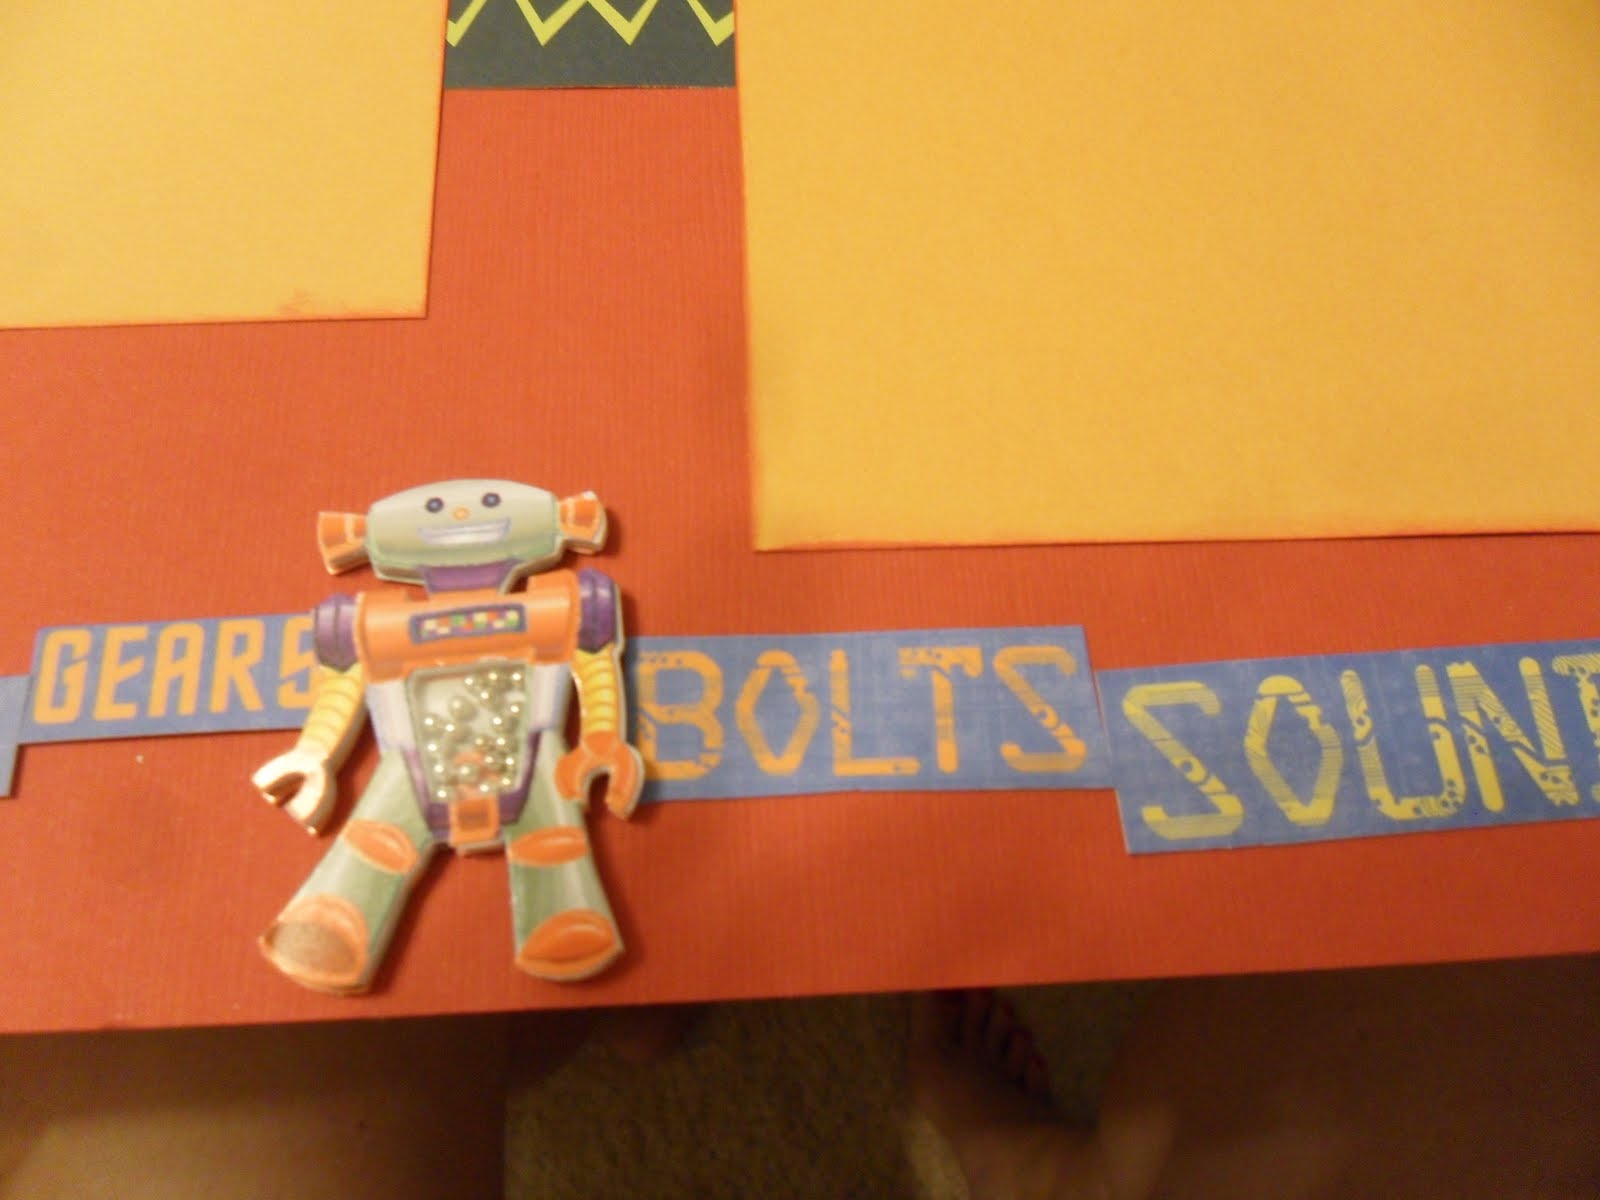
This is the page complete. On the bottom I cut some more words out of the blue robot paper. I cut out a green robot and put pop dots underneath him. Then I had a Recollections robot-I added him in the middle. Then the last thing is an expoxy sticker that says "genuine boy." This sticker came from Creatitve Imaginations (a set of dinosaur stickers.)

The next couple of pictures are close up of the strip on the bottom.


Here are both pages of the layout--finished! Yay! I might add a light bulb between the 2 orange squares on the 2nd page...almost finished!

You'll see more projects from the All Boys Cricut Challenge. If you and your friends had a scrapbook challenge for each other, please share it with me! Either leave a comment or email me. If you email me I will leave you anonymous. Until next time!
1 comment:
Little things like outlining the letters make a huge difference in the finished product.
Post a Comment